
7 Tips for Choosing the Right HDPE Liner
Choosing the right Hdpe Liner starts with understanding the job it must perform. A pond, wastewater basin, landfill cell, and irrigation reservoir can place very different demands on a liner. Site conditions matter, too. Soil movement, temperature changes, ultraviolet exposure, and the materials being contained can all affect performance. A liner that looks suitable on paper may not fit the actual site.
The selection process involves more than comparing prices. Thickness, resin quality, chemical compatibility, panel dimensions, and seam testing deserve careful review. Installation conditions matter just as much. Uneven ground, trapped debris, or rushed welding can create problems that a thicker liner alone may not prevent. Details matter. A clear project specification helps suppliers and installers evaluate the same requirements, though specifications can still miss a site-specific issue.
This guide presents seven practical tips for choosing an HDPE liner, from matching material properties to checking installation and quality documentation. It also considers service life and total project cost, not just the initial quotation. Ask what testing supports the stated properties, and confirm that the product suits the intended exposure. Do not assume. Even experienced teams can overlook a small compatibility or site-preparation detail. Reviewing those details early can reduce avoidable delays and help you make a more informed choice. No single liner fits every project; the right option depends on verified requirements and realistic site conditions.
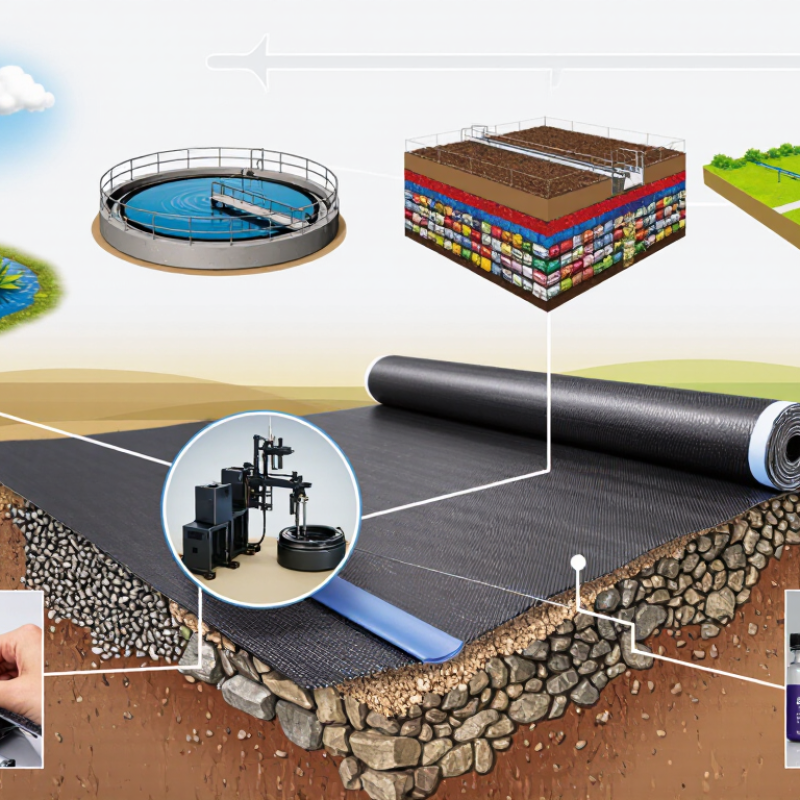
Identify the Project’s Containment Needs
Before comparing HDPE liner thicknesses, define what the liner must contain. Is it clean water, process liquid, or material that may change with temperature? List the expected contents and check their compatibility against reliable technical data. A liner that performs well in one pond may not suit a tank holding a different liquid. Small details matter.
Then consider the site. Measure the base, slopes, corners, and penetrations; a simple sketch can reveal awkward seams or hard-to-reach areas. Note how long the liner will be exposed to sunlight, whether vehicles or sharp stones may contact it, and how water will drain beneath the system. These conditions affect material selection and installation planning. They are easy to overlook.
Think about the consequence of a leak, too. A temporary irrigation pond and a containment area beside sensitive soil do not carry the same risks. The required level of inspection, seam testing, and secondary containment may differ. Ask the project engineer or liner installer to review the specifications against actual site conditions, not just a catalog description. That sounds obvious. It is not. One weak assumption about chemical exposure or subgrade preparation can create costly repairs later. Include maintenance access and future removal in the plan; those needs are often missed during early design.
Compare HDPE Liner Thicknesses and Material Grades
Thickness is only one part of liner selection. A thicker sheet can resist punctures better during installation, but it cannot compensate for a poorly prepared base. Common project specifications use thicknesses from about 0.75 to 2.0 millimeters, though the right range depends on exposure and design loads. Sharp gravel beneath a liner can create damage even when the sheet seems generous. A smooth, compacted surface matters.
Compare material grades using tested properties, not labels alone. Stress-crack resistance is important where a liner may remain under tension for years. For exposed installations, check verified carbon-black content and weathering data. Review tensile strength, puncture resistance, and oxidation-induction results on current technical datasheets. Also confirm that the grade suits the installer’s welding procedure; strong panels still rely on sound seams. A common planning blind spot is comparing thickness values measured under different test standards as if they were identical. They may not be. Request documentation linked to the delivered rolls, and check it against project requirements with a qualified designer. Record roll numbers and test results before installation begins.
Assess Site Conditions and Installation Requirements
Assess the ground before selecting an HDPE liner. Walk the footprint after rain and note soft spots, sharp stones, exposed roots, and areas where water collects. These details affect subgrade preparation, drainage, and the risk of punctures. Check slope angles and anchor-trench locations, too. A liner that fits the drawings may still wrinkle or pull tight around awkward corners.
Installation conditions matter just as much. Strong winds can lift loose panels, while cold temperatures can make handling less forgiving. Confirm that equipment can reach the work area and that crews have room to unroll, align, and weld panels safely. GSI’s GRI-GM13 specification lists minimum tensile yield strength of 22 kN/m and puncture resistance of 480 N for 1.5 mm HDPE geomembrane. These are material benchmarks, not proof that a liner will suit every site. Fit the specification to expected loads, contact materials, and installation methods.
Review groundwater levels, chemical exposure, and expected settlement with a qualified designer. Then record weather, panel locations, and seam-test results during installation. Small details matter. I would not treat a dry site visit as enough; conditions can change after grading, and that assumption deserves a second look.
7 Tips for Choosing the Right HDPE Liner: Assess Site Conditions and Installation Requirements
Common nominal HDPE geomembrane thickness options (millimetres). Availability and suitability depend on the project specification and site conditions.
Site check: Match liner selection to the subgrade condition, slope and settlement risks, exposure and chemical compatibility, anchorage details, and access for safe seam welding. Thickness is only one factor; confirm the final specification with the project design requirements.
Verify Durability, Compatibility, and Quality Standards
An HDPE liner may look flawless on the roll, yet small material differences affect long-term performance. Check the technical data sheet against the Geosynthetic Institute’s GRI-GM13 specification. It sets carbon black content at 2.0–3.0% and requires at least 500 hours of stress-crack resistance under ASTM D5397. These figures offer a useful screening baseline, not a guarantee for every site. Ask for current test results, resin details, and independent quality records. A certificate without traceable batch data is a weak safeguard.
Compatibility matters just as much. Compare the liner with the actual leachate, soil conditions, and expected temperature range; broad chemical-resistance charts may not reflect a mixed or changing waste stream. Where exposure is uncertain, request immersion testing and review changes in mass, dimensions, and tensile properties. Inspect sample seams, too. A strong sheet can still fail at a poorly prepared weld. Check seam test records and confirm the installation team follows a documented procedure. I would treat every pass as a checkpoint, not a promise. Field conditions can surprise you. Keep inspection notes, photographs, and batch numbers together, even when the paperwork feels repetitive.
| Tip | What to Check | Why It Matters | Practical Verification |
|---|---|---|---|
| 1 | Define the service conditions | Temperature, exposure duration, ultraviolet light, subgrade conditions, and installation stresses can affect liner performance. | Document the operating temperature range, exposure conditions, design life, and whether the liner will be exposed or covered. |
| 2 | Confirm chemical compatibility | HDPE is resistant to many chemicals, but resistance depends on the specific chemical, concentration, temperature, and exposure time. | Compare the complete chemical inventory with documented compatibility data. For demanding applications, request project-specific immersion testing, such as procedures described in ASTM D5322 or ASTM D5747. |
| 3 | Select thickness for the application | Thickness affects handling, puncture resistance, and installation considerations; no single thickness is suitable for every site. | Use the project design and applicable regulations to specify thickness. Verify measured thickness using the test method named in the procurement specification, such as ASTM D5199. |
| 4 | Evaluate mechanical properties | Tensile behavior, puncture resistance, and stress-crack resistance relate to different demands placed on the liner. | Review test results against the project specification. Relevant methods may include ASTM D6693 for tensile properties and ASTM D4833 for puncture resistance; confirm the required method and acceptance criteria before ordering. |
| 5 | Check environmental durability | Sunlight and elevated temperatures can contribute to material aging, especially when the liner remains exposed. | Ask for documented test data appropriate to the exposure conditions, including ultraviolet or oxidative-aging evaluations where required by the project specification. |
| 6 | Plan for seam quality | Field seams are critical parts of a lined system and can be affected by weather, surface condition, equipment, and workmanship. | Require a documented installation and inspection plan, qualified welding personnel, and specified seam testing. ASTM D6392 is one method used to evaluate geomembrane seam strength and related properties. |
| 7 | Review quality documentation | Traceable records help confirm that delivered rolls meet the agreed specification and can support inspection and acceptance. | Check product data sheets, lot or roll identification, certificates of analysis, test reports, and applicable standard editions. Compare results with the project’s stated limits rather than relying on a general claim of compliance. |
Choose a Qualified Supplier and Plan for Maintenance
7 Tips for Choosing the Right HDPE Liner
Choose a Qualified Supplier and Plan for Maintenance
Tip 1: Ask suppliers for relevant project experience, written material specifications, and quality-control records.
A capable supplier should explain liner thickness, resin properties, seam testing, and how each choice fits your site conditions. Ask who will support installation and answer questions afterward. A polished quote is useful, but it does not tell the whole story.
Tip 2: Review the maintenance plan before selecting a liner.
Request clear inspection intervals and practical guidance for checking seams, edges, drainage points, and exposed areas. Small details matter. For example, a technician walking the perimeter after heavy rain may spot standing water or soil movement before damage worsens. Keep inspection notes, photos, and repair records together.
Tip 3: Discuss likely site changes, such as settlement, temperature swings, or equipment access.
Ask how repairs should be prepared and completed, and what tools or compatible materials are needed. The answer should be specific, not vague. A good plan is not a promise that problems will never occur; it gives staff a sensible response when they do. Even experienced teams can overlook a detail, so review the plan on site before work begins.